The easy way to insert HTML content in your Model-Driven App / Dynamics 365 Forms!
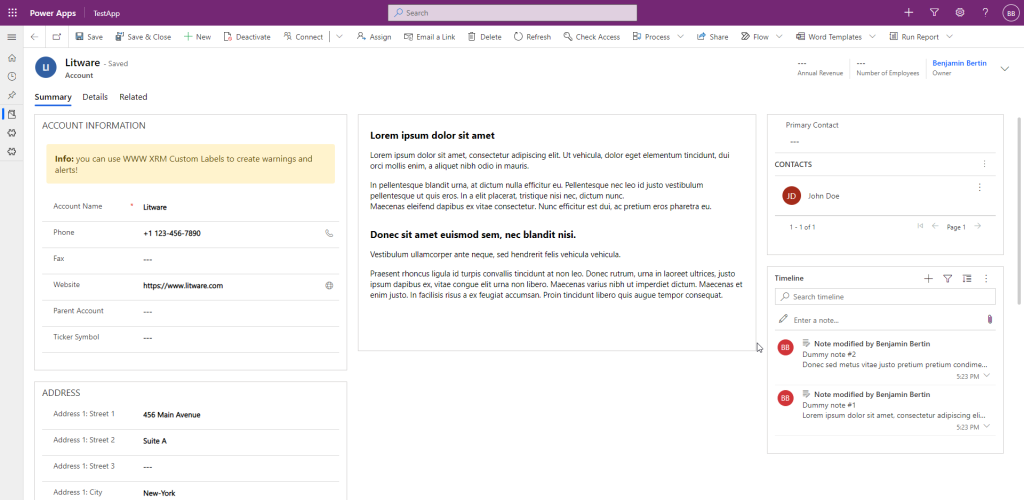
WWW XRM CustomLabels is a Power Apps solution that allows the creation and edition of custom HTML snippets that can easily be inserted in a Model-Driven App / Dynamics 365 form, dashboard or page.
Download
This solution is free and provided under the MIT License.
Getting started
Installation
- Download the solution (see above)
- Import the solution in a Dataverse environment
- Add the Custom Label table to the navigation of an existing app
- Ensure you give appropriate permissions to the Custom Label table
- Publish all the customizations
Create and manage labels
Navigate to the Custom Label table to manage the HTML snippets.
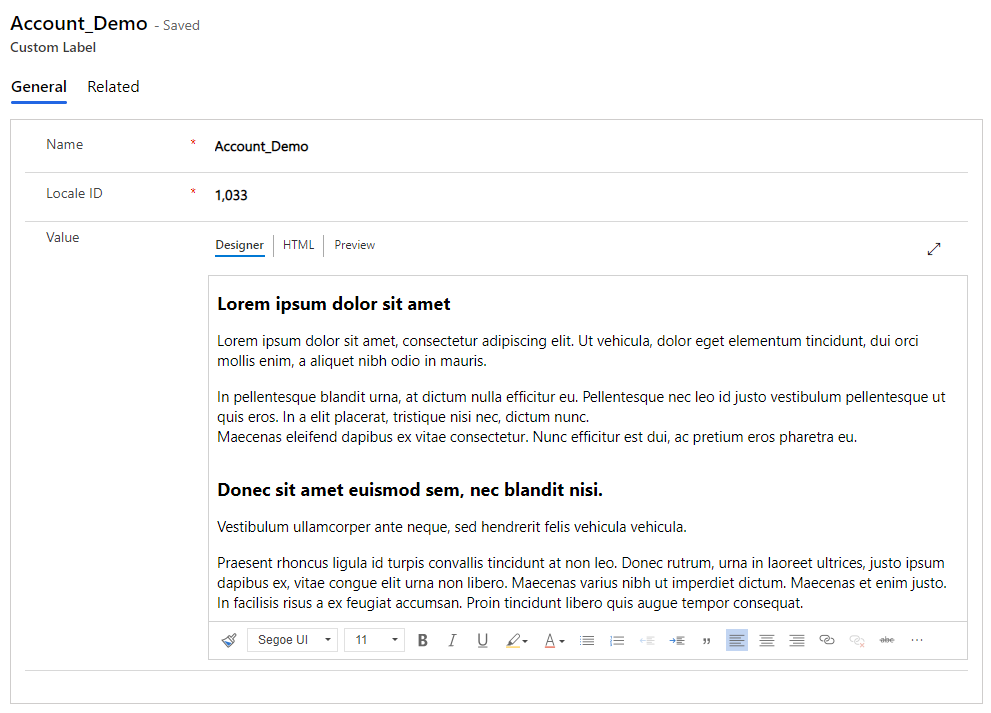
Fields:
- Name: used to identify the HTML snippet. This name is used when configuring the Web Resource that displays the snippet. A name should be unique unless you are working with multiple languages.
- Locale ID: enter the LCID that corresponds to that label’s language.
- Value: the content to display. You can either use the rich text editor or the HTML editor.
Configure the Web Resource
The labels are displayed thanks to a Web Resource provided with the solution. Therefore, a label can be displayed whenever a Web Resource can be used (a table’s form, a dashboard or directly within the app thanks to a link in the site map).

- Web resource: select www_customlabel.html.
- Name: unique identifier. You can enter whatever you want, this has no impact on the Custom Label.
- Label: will be shown on top the label if you check the “Display label on the Form” option.
- Custom Parameter(data): you must enter labelName={name} where {name} is the name of a Custom Label you have created.

- Number of rows: it is very important to set the right number of rows depending of the content and the scrolling options. Unfortunately the “Automatically expand to use available space” option is not supported.
- Scrolling: it is recommended to set the scrolling option to “As necessary” to avoid the content to be hidden in some situations.
- Border: it is recommended to uncheck the “Display border” option for a better visual integration of the label with your form.